ZEISS Metrotomography: 3D CT Scanning
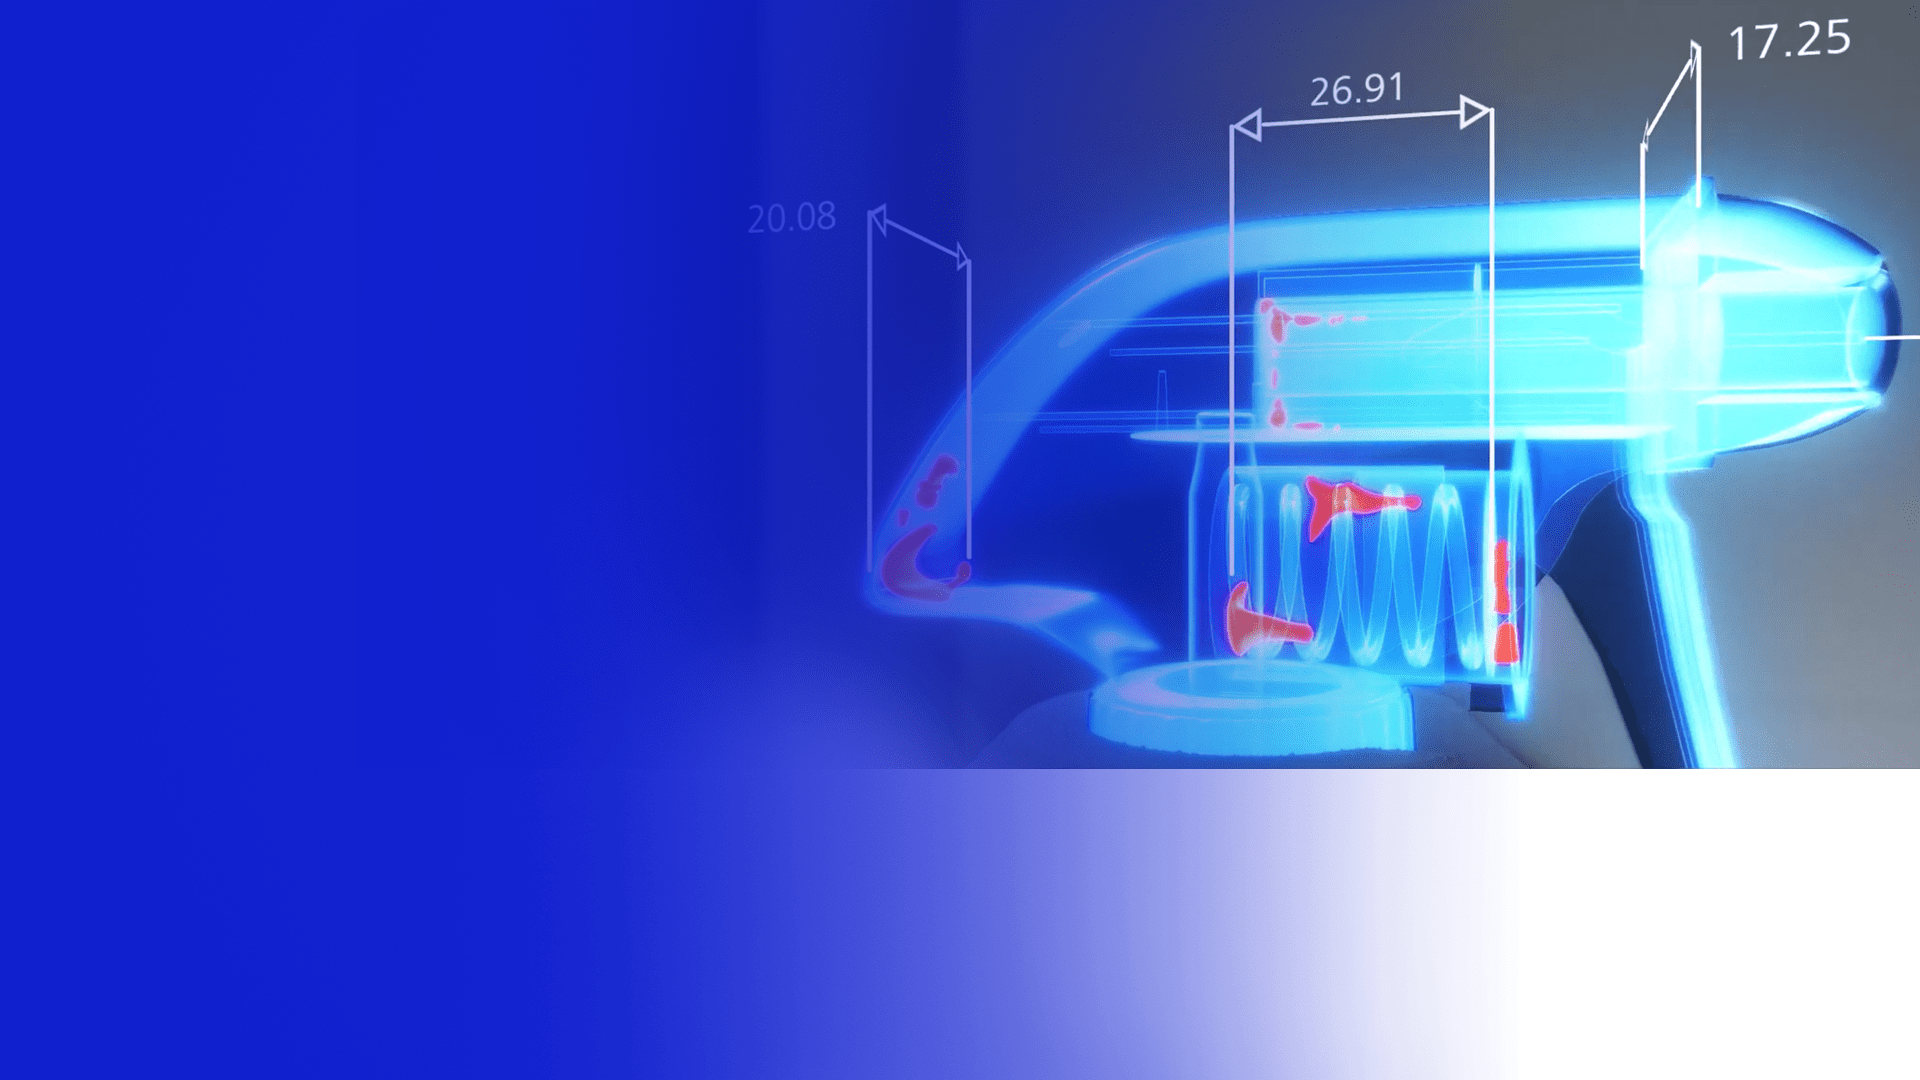
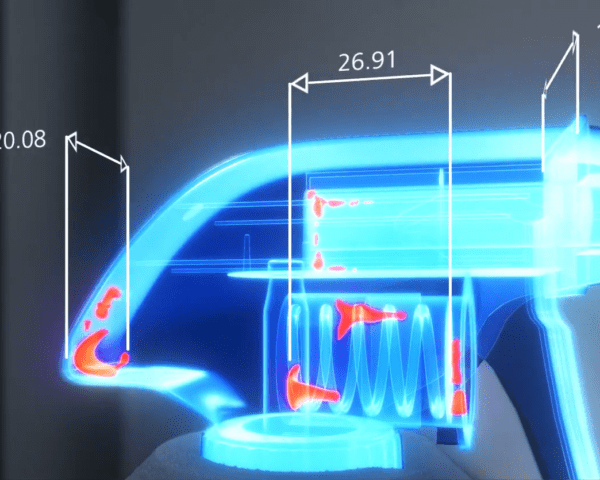
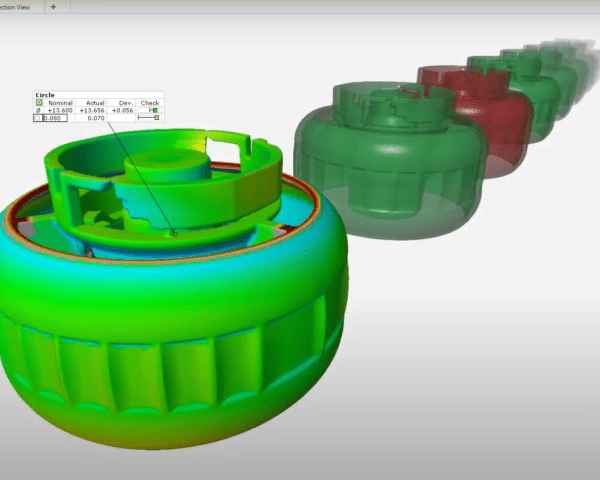
Metrotomography is the fusion of metrology and tomography. With ZEISS Metrotoms, it is now possible to measure highly precisely and non-destructively in areas where only destructive inspection was possible before or no quality assurance took place at all. Metrotomography allows you to measure the interior of a workpiece: all recorded data can be applied to all areas of quality assurance and be evaluated. Non-destructive testing technology, such as assembly inspection, damage and porosity analysis, material inspection and defect checks is possible as well as traditional evaluation, reverse engineering applications or a comparison of geometries.

Key Features
Well thought-out design
- 3D computed tomography with micro-focus x-ray tubes and detectors
- Rotary table and clamping device and a moving system from ZEISS
Safe technology
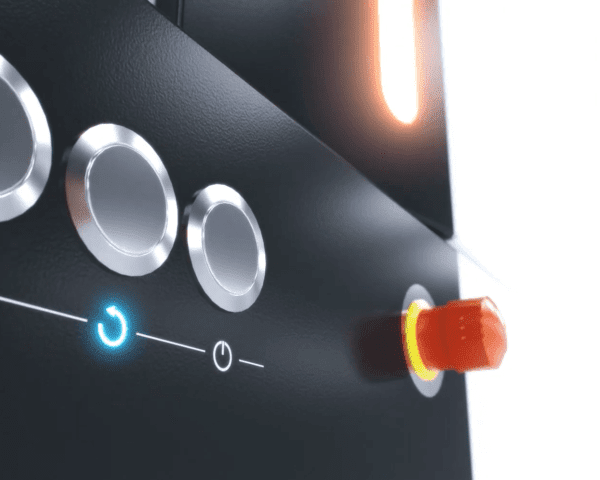
- Full-protection enclosure
- Meets radiation protection ordinance in accordance with DIN 54113 for full-protection devices (0.5 mr/h on external skin) of this type
- Ergonomically optimized design (special loading position)
Machine Technology
ZEISS Metrotoms have proven linear technology
- In-house machine components relevant to precision
- Compensation of guideway errors (CAA corrected)
- Original ZEISS rotary table with direct drive
- In-house air bearings
- Resolution: 0.036˝
- Max. load (centric): 500 N
Sensor
Micro-focus x-ray tubes
- High voltage: 10 – 225 keV
- Tube power: 5 – 3000 μA
- Target performance: 320 W max.
- Angle of reflected beam: 50° conical
- Angle of useful beam: 30° conical
- Size of focal point: > 7 μm flatbed detector
- Detector system with extremely high sensitivity
- 1024 x 1024 pixels at 400 μm² for 3D-CT
- Low distortion, digital radioscopy

