Description
Extract all required dimensions
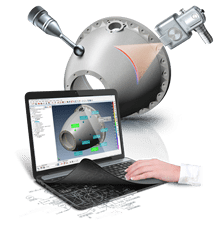
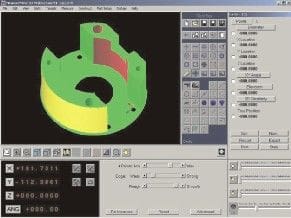
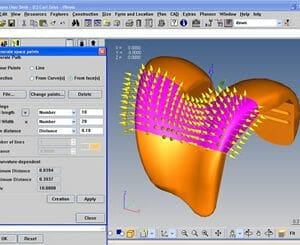
At the core of the PolyWorks|Inspector workflow is the extraction of measured part dimensions and computing the deviations to their corresponding nominal dimensions. Thanks to the remarkable flexibility integrated into PolyWorks, dimensions can be extracted from measured point clouds, polygonal models built from point clouds, or probed points. Nominal dimensions can also be extracted from a CAD model or a reference measured part.
PolyWorks|Inspector delivers the complete toolbox you need to extract and analyze:
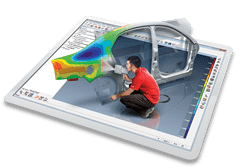
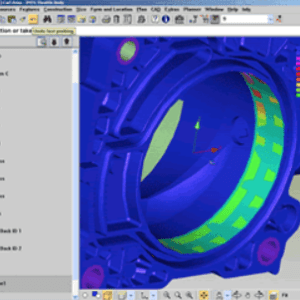
Surface, boundary, and cross-sectional measured-to-nominal deviations
Feature dimensions and GD&T controls (ASME Y14.5-2009 and ISO 1101, as well as PTB certified 64-bit/32-bit)
Advanced dimensions such as flush and gap, profile radius, airfoil dimensions (leading edge, trailing edge, and global), assembly clearance, thickness, and more
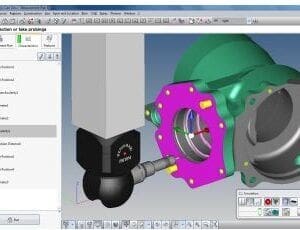
PolyWorks|Inspector also offers real-time guidance to accurately build and inspect fixtures and jigs using single-point measurement devices.
Generate updateable reports
PolyWorks|Inspector provides an outstanding updateable reporting technology that guarantees the exactness of a report and dramatically accelerates multipiece inspection.
Report items, such as 3D scene screenshots and result tables, are automatically updated if a project is altered. You can modify the parameters of a project, or replace the measured data points of the current piece by the data points from a new piece, knowing that the entire inspection report will automatically be updated.
Share inspection results
The PolyWorks|Viewer enables your colleagues, managers, and suppliers to review your inspection projects in 3D.

