Description
Sensible Constructions
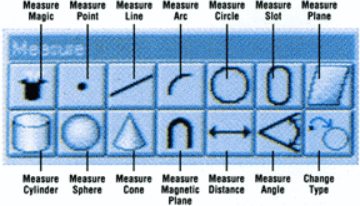
Do you want the line that intersects two planes? Or the circle that’s created form the intersection of a plane and a cone? A distance between a 3D point and the center of a sphere? The IK 5000’s intuitive user interface allows you to choose the construction and then select the features for use in the construction directly form the graphical part view. There is no need for multiple pages of different construction icons.
Easy Probe Selection
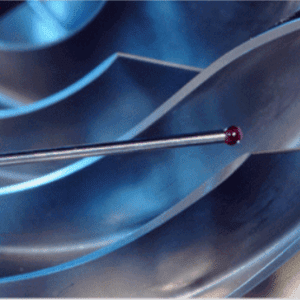
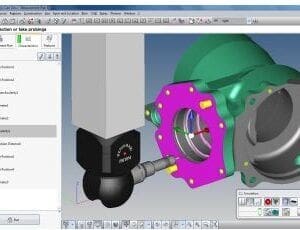
The user can select from a library of qualified probes and install the ones used most frequently in the toolbar. Just click the mouse to select them. The user can select probe tips from a star probe simply by moving the probe in the direction of the tip to be activated…the operator doesn’t have to touch… or look at… the computer!
Multiple Options Part Views
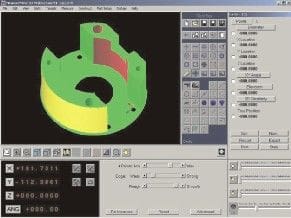
Multiple-Plan Views: The IK 5000 offers true graphical part representation. Its Graphical Interface provides all the information you need in an intuitive format with four independent views: 3D modeling, XY, YZ or ZX plan view. Tolerancing or construction features may be selected from any of the views.
Self-Programming
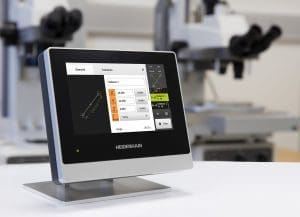
Measure your first part and the IK 5000 learns the datums, measuring sequence, tolerances, and reporting functions and then visually leads you through subsequent part inspections by following the flashing cursor. You simply select the program from an icon on the toolbar.
Part View Controls: Zoom in, zoom out, zoom to fit, zoom in on a selected area, pan and rotate functions, make the IK 5000 the most complete CMM readout available.
Quick View: Toolbar buttons allow the operator to view the part from any of a number of preselected orientations and elevations.
View From Probe: The IK 5000 allows you to view the graphical part representation as if you were viewing the part from the tip of the touch probe.
Layer Control
Inspectors can view the entire part at once, or organize features into “layers” making the graphical interface easier to use and understand. Ideal for complex parts with multiple geometries, layer control gives the user control over which features are visible and which are hidden for use later in the measuring routine.


